The X Gantry idler part is available in both 9mm and 11mm parts. The 11mm part (X Gantry Idler 11mm (Stock idler))will fit the original idlers. However, these are usually the first part to give way on the Wanhao and I recommend replacing them. most of the replacement idlers available are 9mm wide. The 9mm part (X Gantry Idler 9MM) accounts for this and allows for thicker side walls which should let the part last longer.
Install 2 inserts into X Gantry Idler 9MM and X Gantry Motor Mount MK3 V2 near the rod mounts.

Install a further 2 heart-sets into the end of the X Gantry Idler 9MM part. This will be used later to mount our cable chains.
Complete The idler part using an 20-25mm M5 bolt, washer, idler pulley and M5 nylock.

Install 2 LM8UU bearings in each of these parts. one flush with the top and one flush with the bottom.

Install your TR8 Leadscrew nuts. There are various ways to secure these. options include:
- 8-16mm countersunk screws from above.
- 8mm screws from below.
- 12-16mm screws from above secured with m3 nylocks.
Insert the 2 320mm X rods into X Gantry Motor Mount MK3 V2 roughly 15mm. Slide in the newly assembled X axis Carriage. Have the extruder pointing forward from the flat side of the gantry parts. With the New V2 parts, the bearings can be installed now and the carriage can be mounted later if you prefer.
Attach the X Gantry Idler 9MM onto the other side of the rod again by around 15mm. The spacing of the z rods holes should be exactly 357mm outside edge to outside edge. This corresponds to 287mm between the X Gantry Idler 9MM and X Gantry Motor Mount between their closest points.
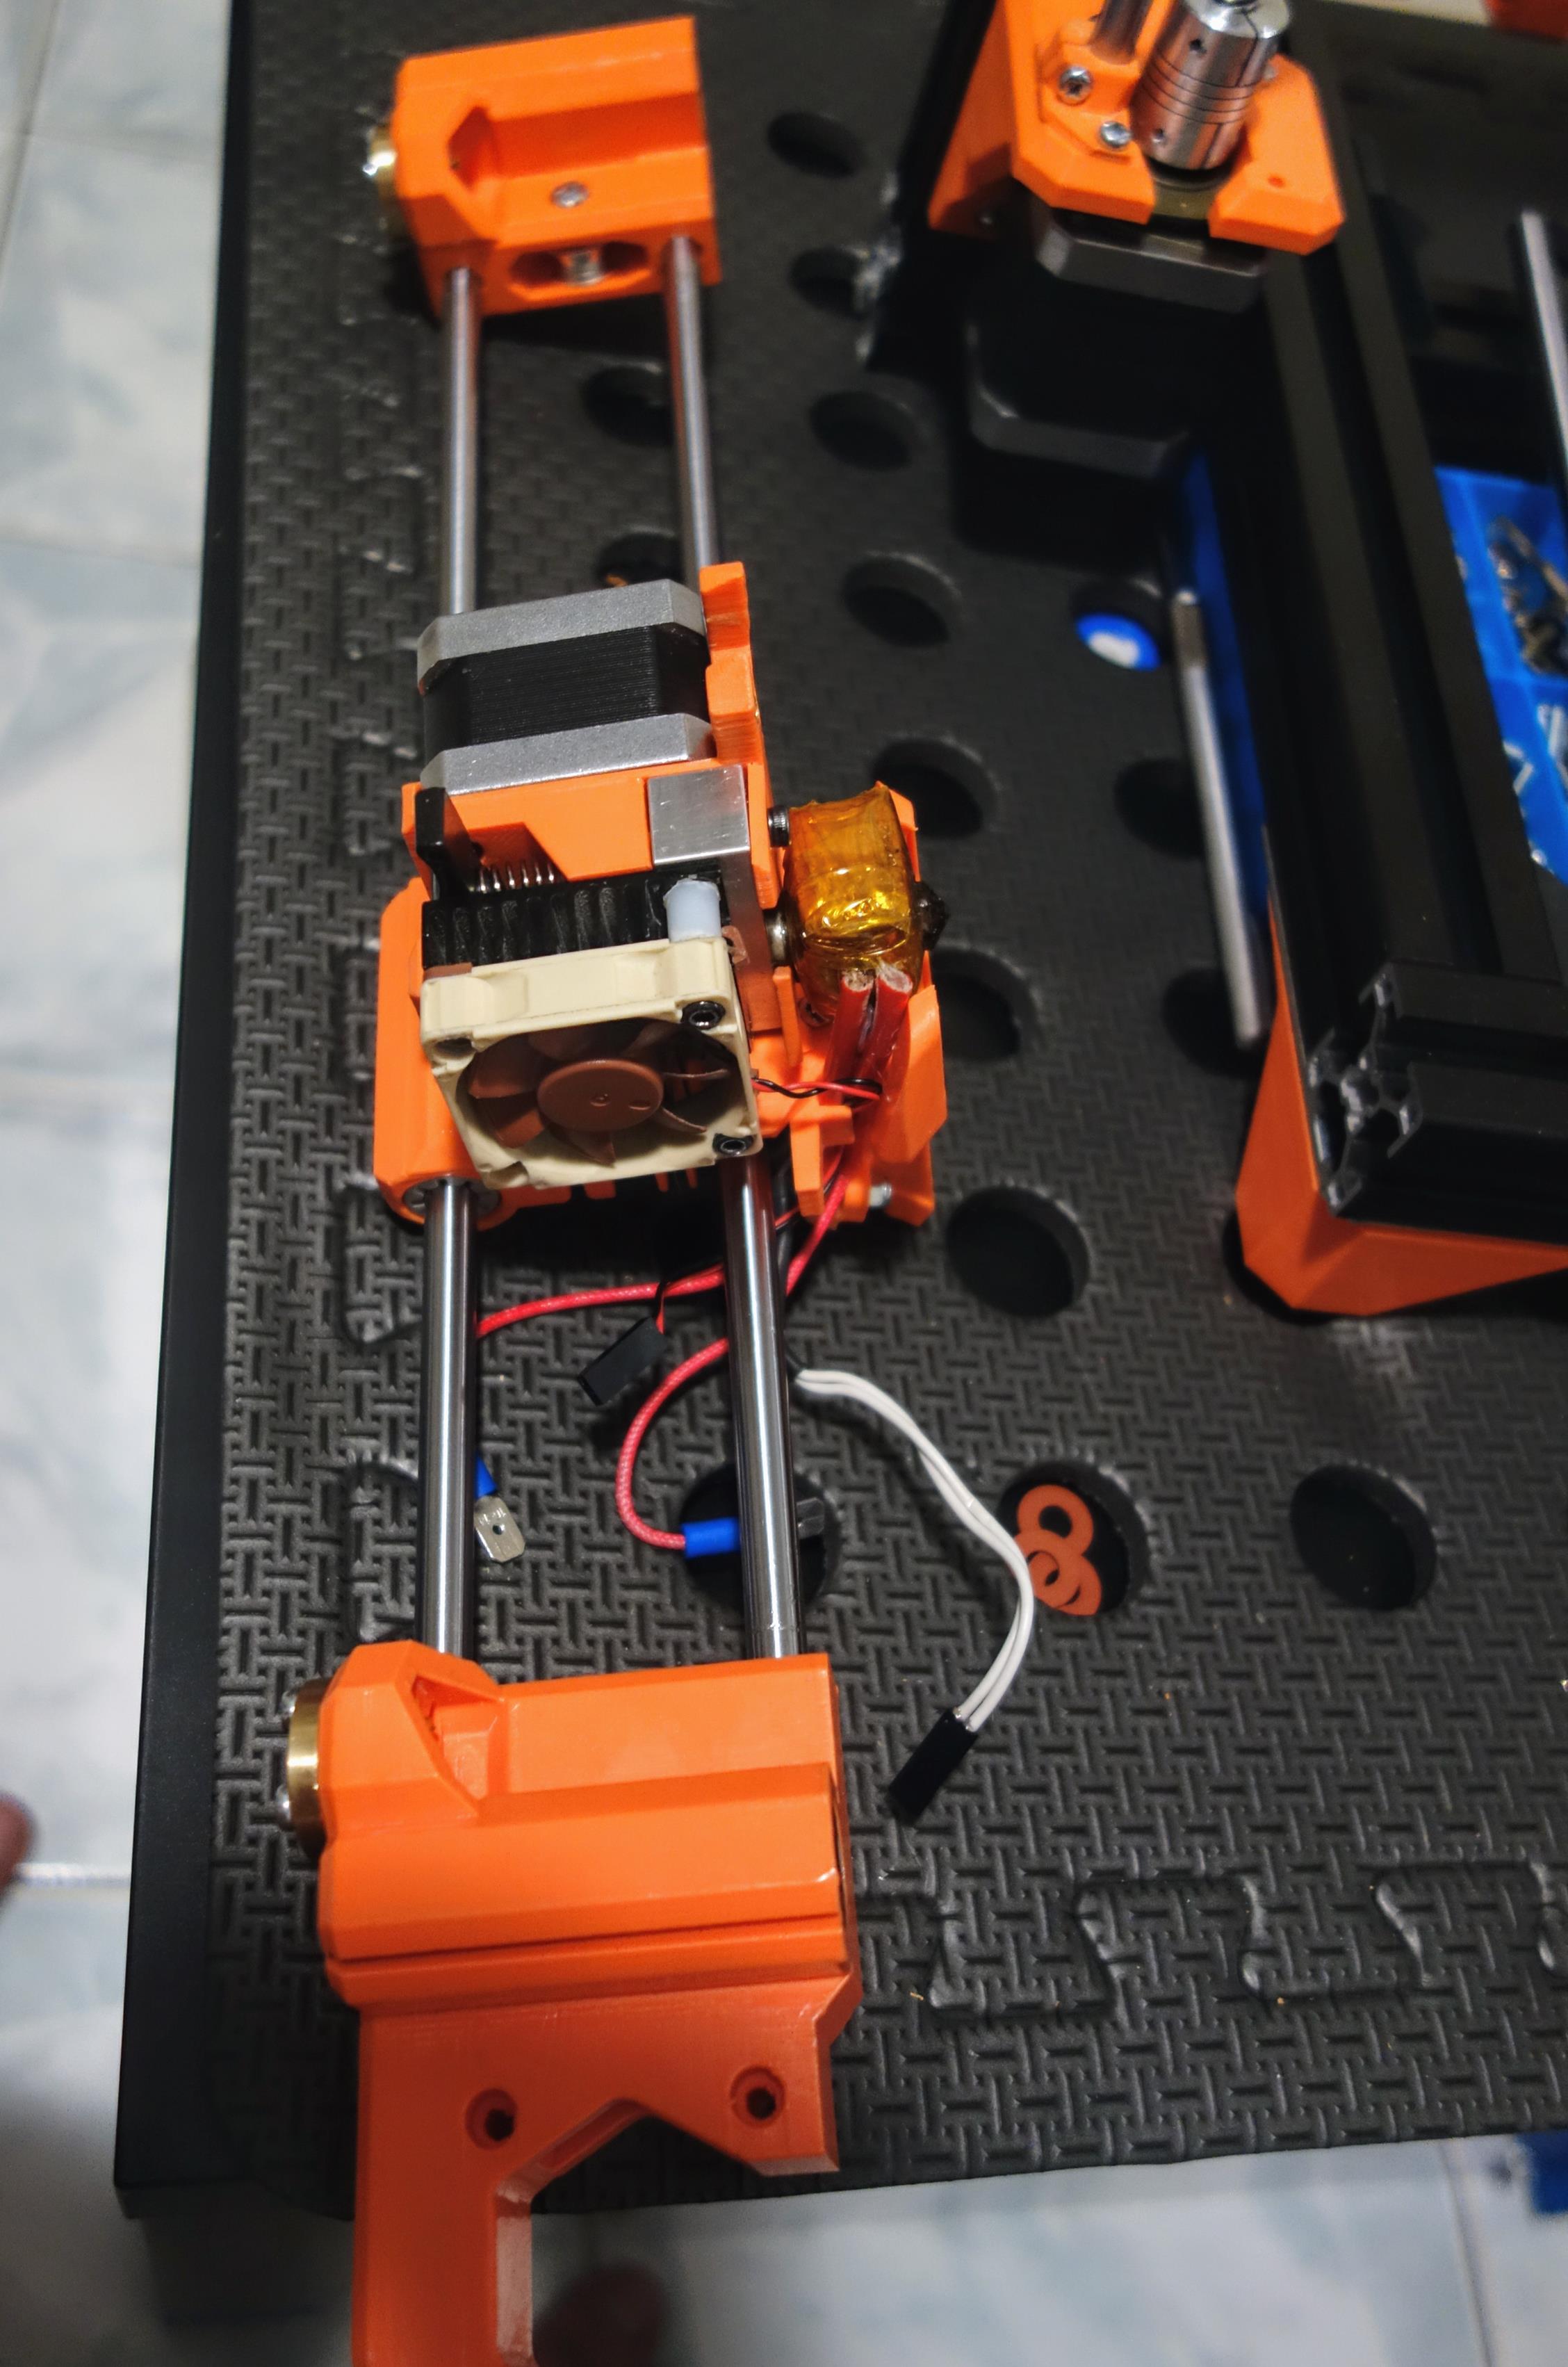 Note!! The extruder is pointed in the wrong direction here, it should be pointing the other way. Do the opposite of this!
Install the X motor onto the X Gantry Motor Mount part using 20-30mm M3 screws. I used an additional M3 washer and 2 neoprene washers to decouple and reduce vibration and noise. This is less effective than an astrosyn dampener, but retains much more rigidity. Install the motor on the opposite of the flat side. However this will reverse motor direction. You will need to reverse the direction in config or rewire the motor in reverse. alternatively mount the motor on the flat side avoid this. Don’t tighten these 100% yet as the motor will be shift during belt tensioning.

This can now be slid onto the printer tower. slide the gantry onto the smooth rods, then rotate the leadscews in unison. Run the gantry up and down the z axis all the way. If the z rods and leadscrews bend as you go it means the gantry distance is misaligned. Adjust as necessary. When you are sure it is aligned screw 4 8mm countercunk screws in to the heat serts near the rods to secure the spacing.