Install the Y Carriage Bearing Blocks onto the Y carriage replacing the original blocks using the original M4 screws. This isn’t mandatory, but is helpful for reducing the moving weight of the axis. Again, I used a combination of Igus and Misumi long bearings as i found this gave me a good balance of silence and ease of moving the axis. If you would like to secure the blocks further, longer 20mm M4 screws and nylocks can be used here.
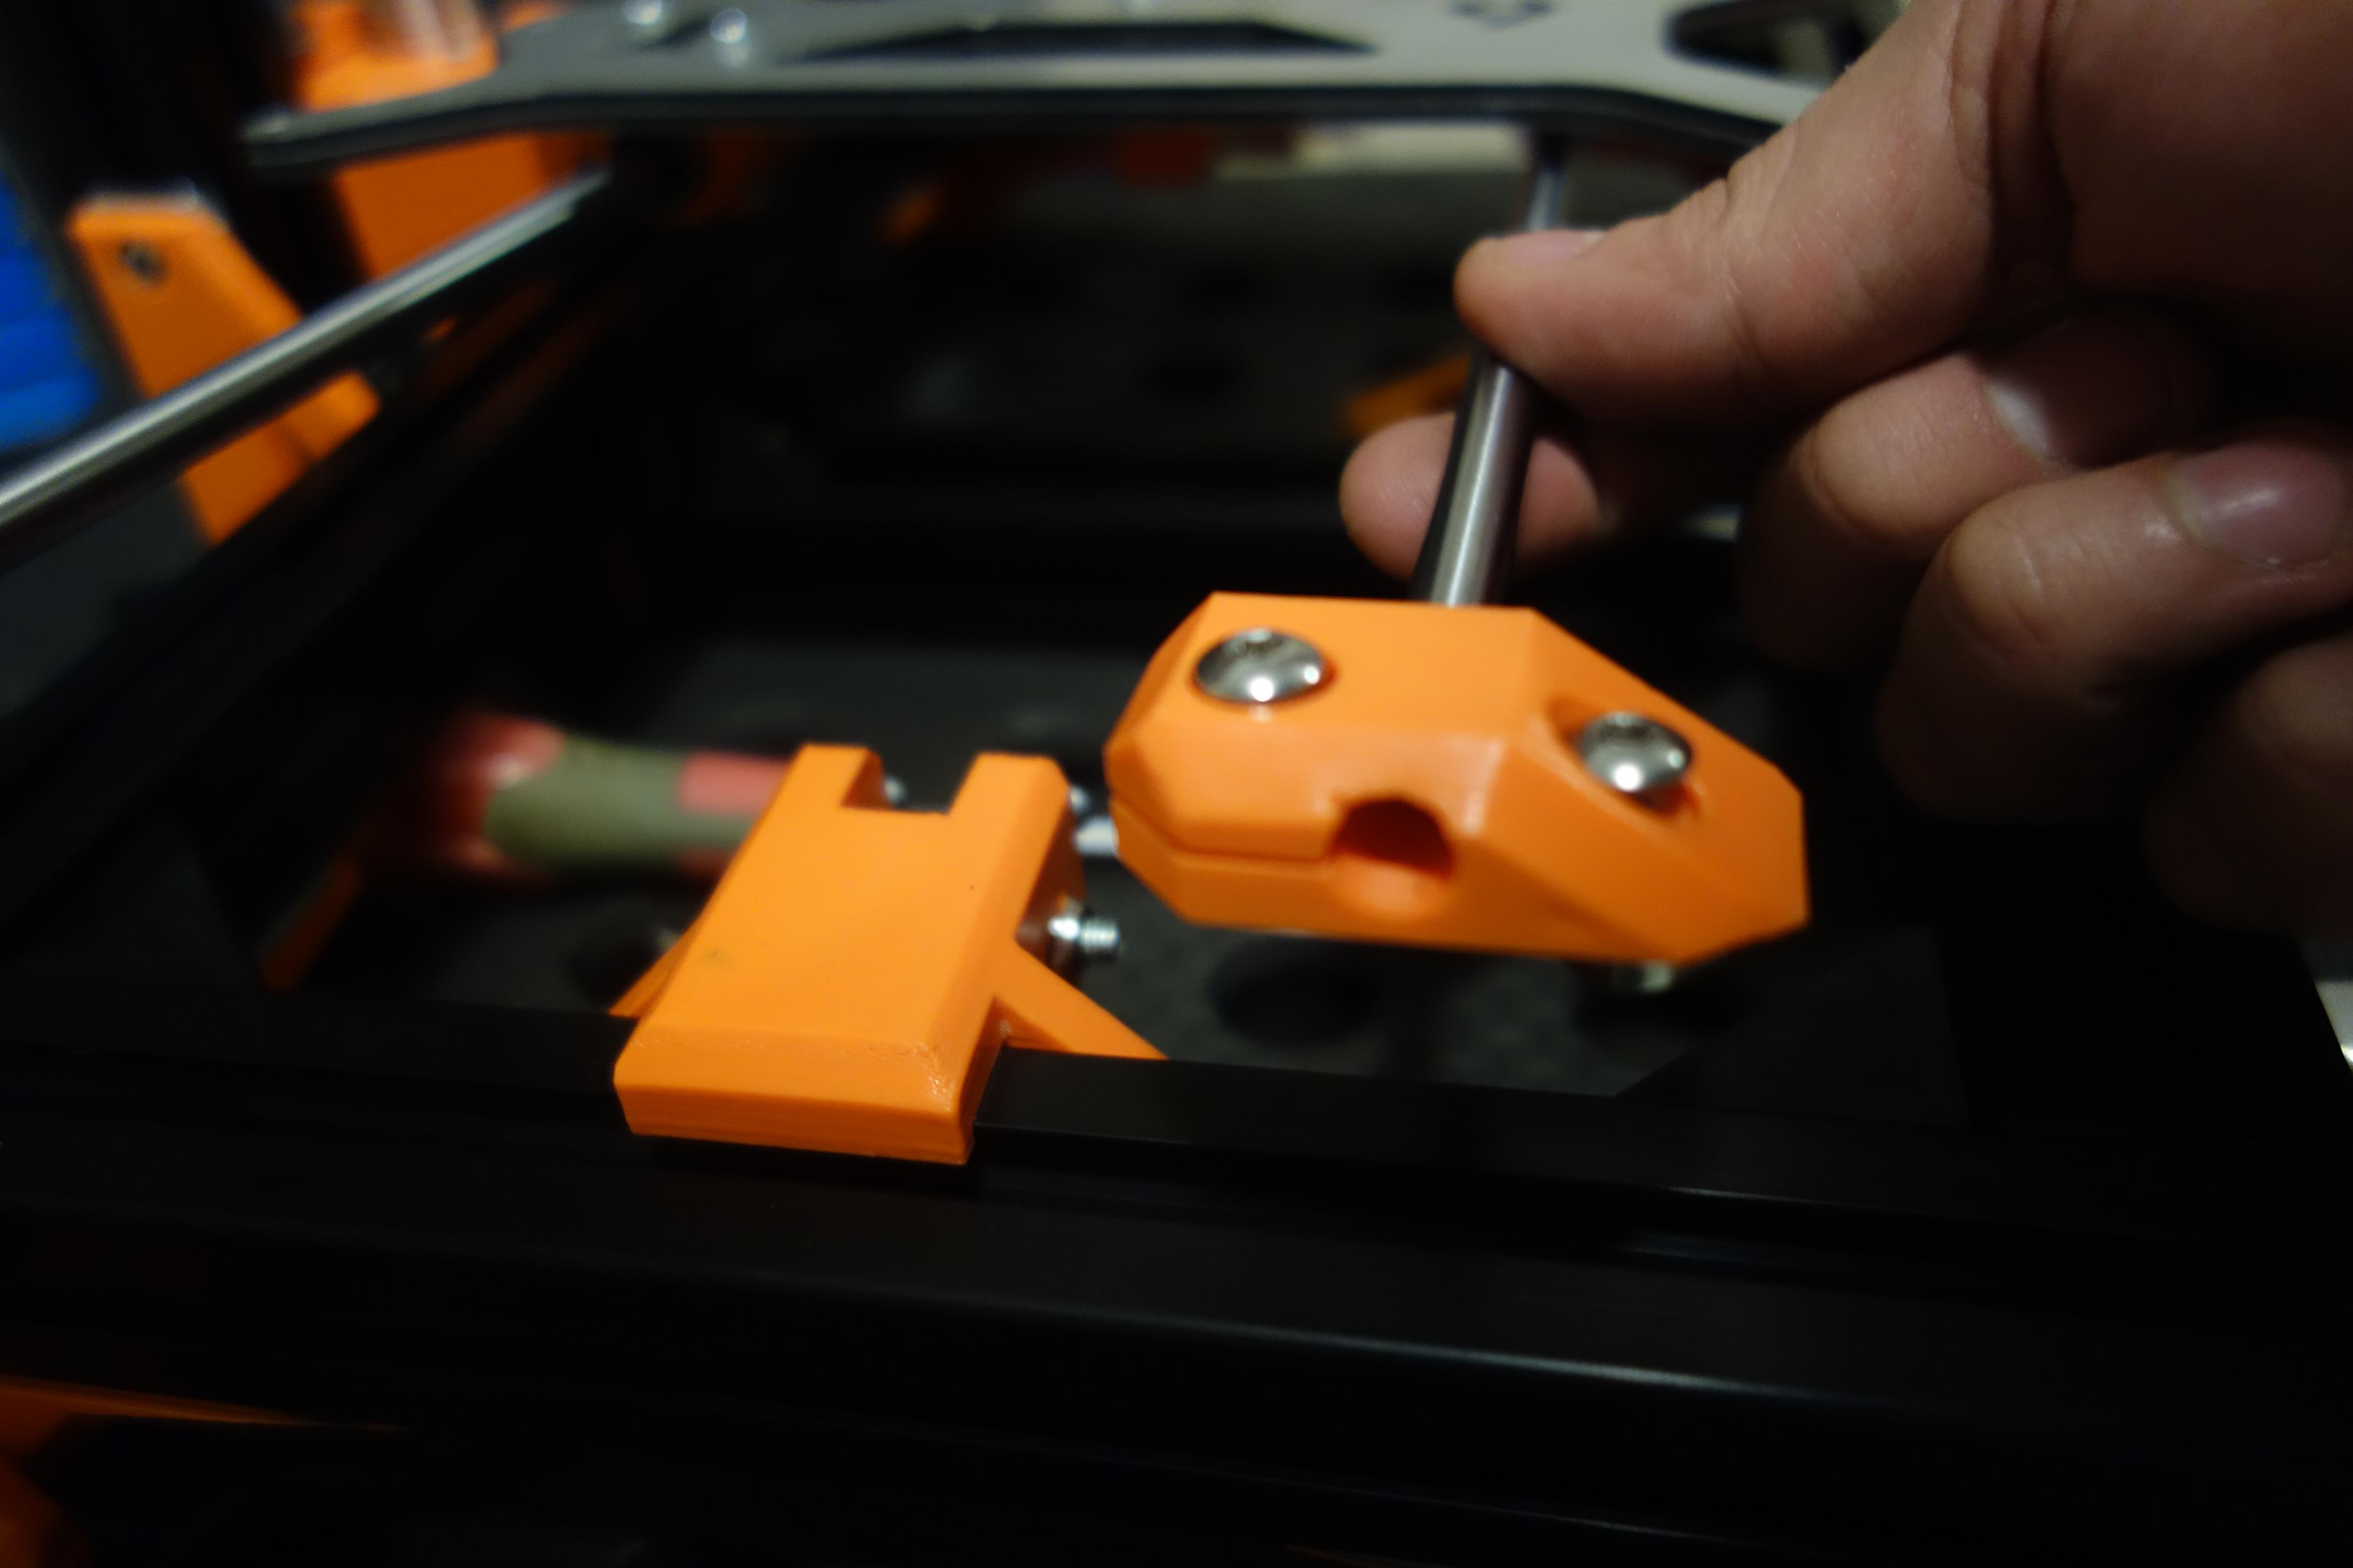
Install the Y Carriage Belt Holder to the the y carriage, replacing the original steel one. Use M5 nylocks and the original screws.
I am using an upgraded Y carriage plate as the original one is heavy and very prone to warping. A number of upgrades options exist which drastically increase the carriages rigidity and results in not having to relevel the bed as much, if at all.
Install the left and right Y Axis Rod Holders on front base extrusion. Insert the 380mm Y axis smooth rods into these by around 10mm. Use a 12mm M5 on the short end and a 16mm M5 on the taller side with t-nuts.

Slide the Y carriage onto the rods.
Slide the Yaxis endstop 10mm onto the back left rod and a normal rod holder on the rear right rod. Screw the endstop on using the original M2 screws.

The outer spacing of the smooth rods should be 150mm. Center the bed. Before tightening the rod holders down, run the carriage up and down as needed making adjustments to ensure it is run as smoothly as possible. Once you are happy tighten the rods. Measure the distance between the rods on each end to ensure they are spaced consistently.
Attach the Y motor using one 12mm screw into the the Y Axis Motor Mount.

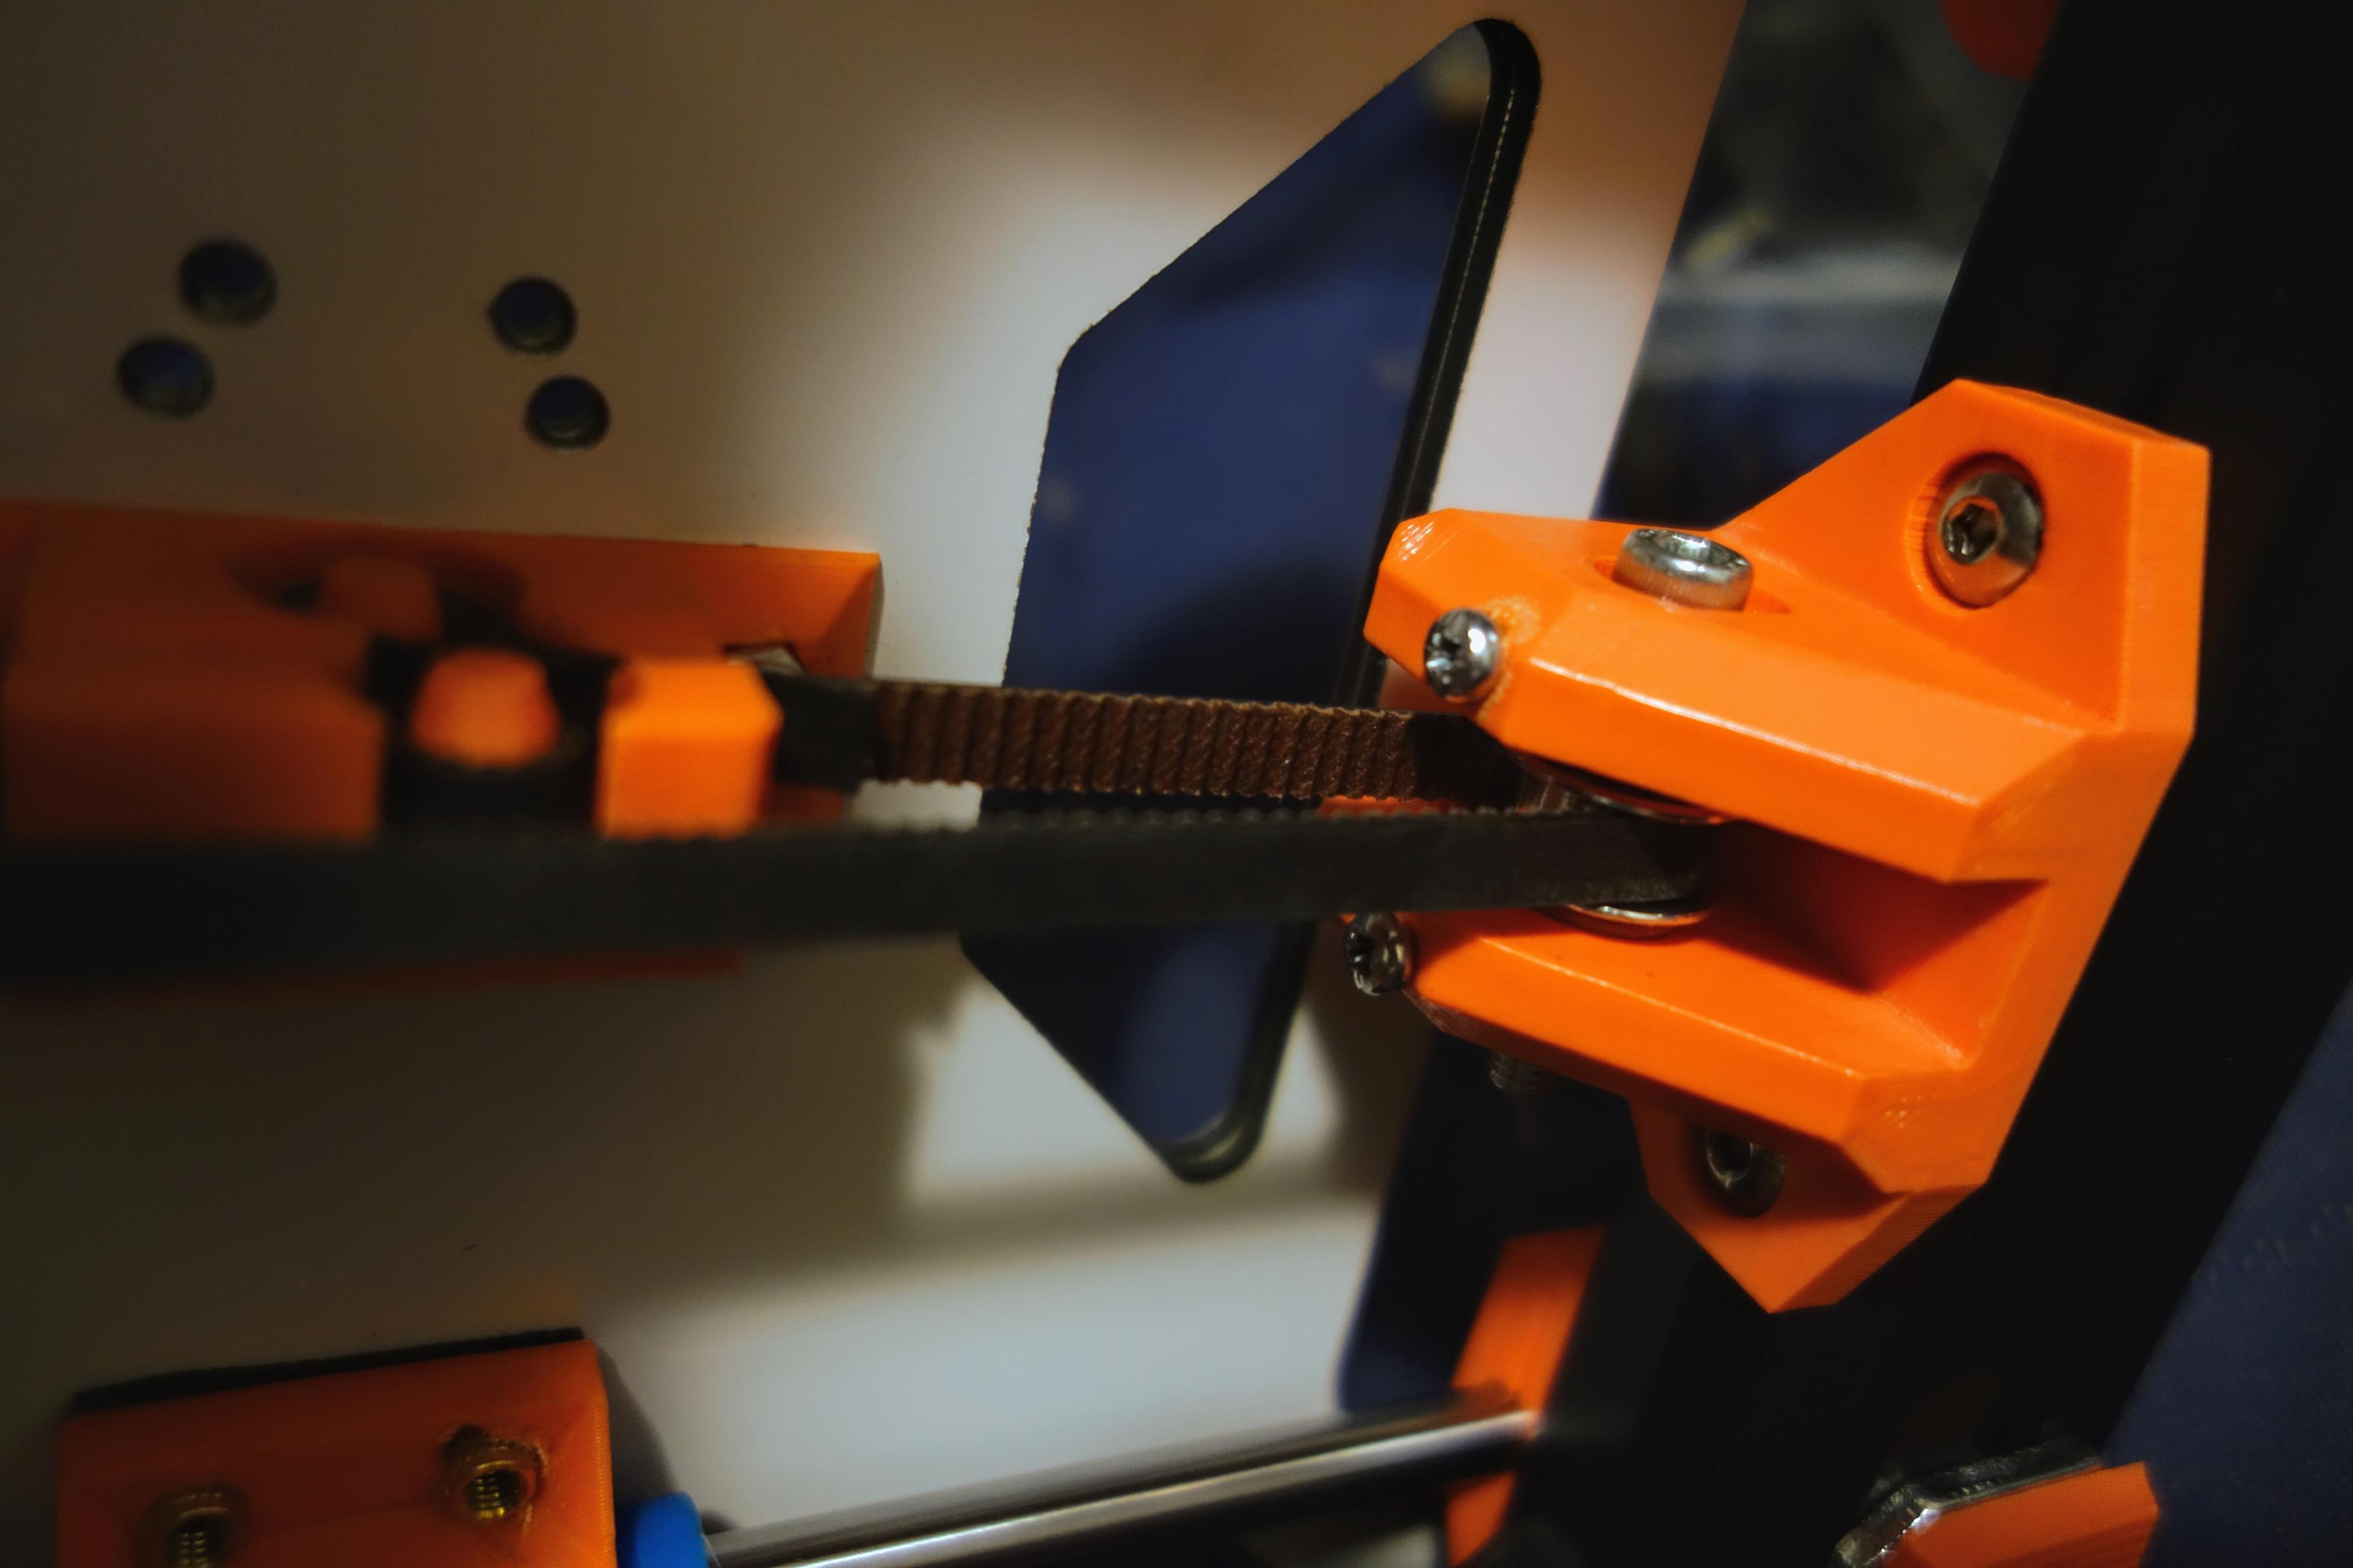
Attach the belt to the Y Belt holder, run it around the idler and the motor loosely. Then rotate the motor into place and screw in the two remaining screws. This should put the axis under tension. To increase it further equally screw in 2 12-16mm M3 screws into the Y Axis Belt Idler.
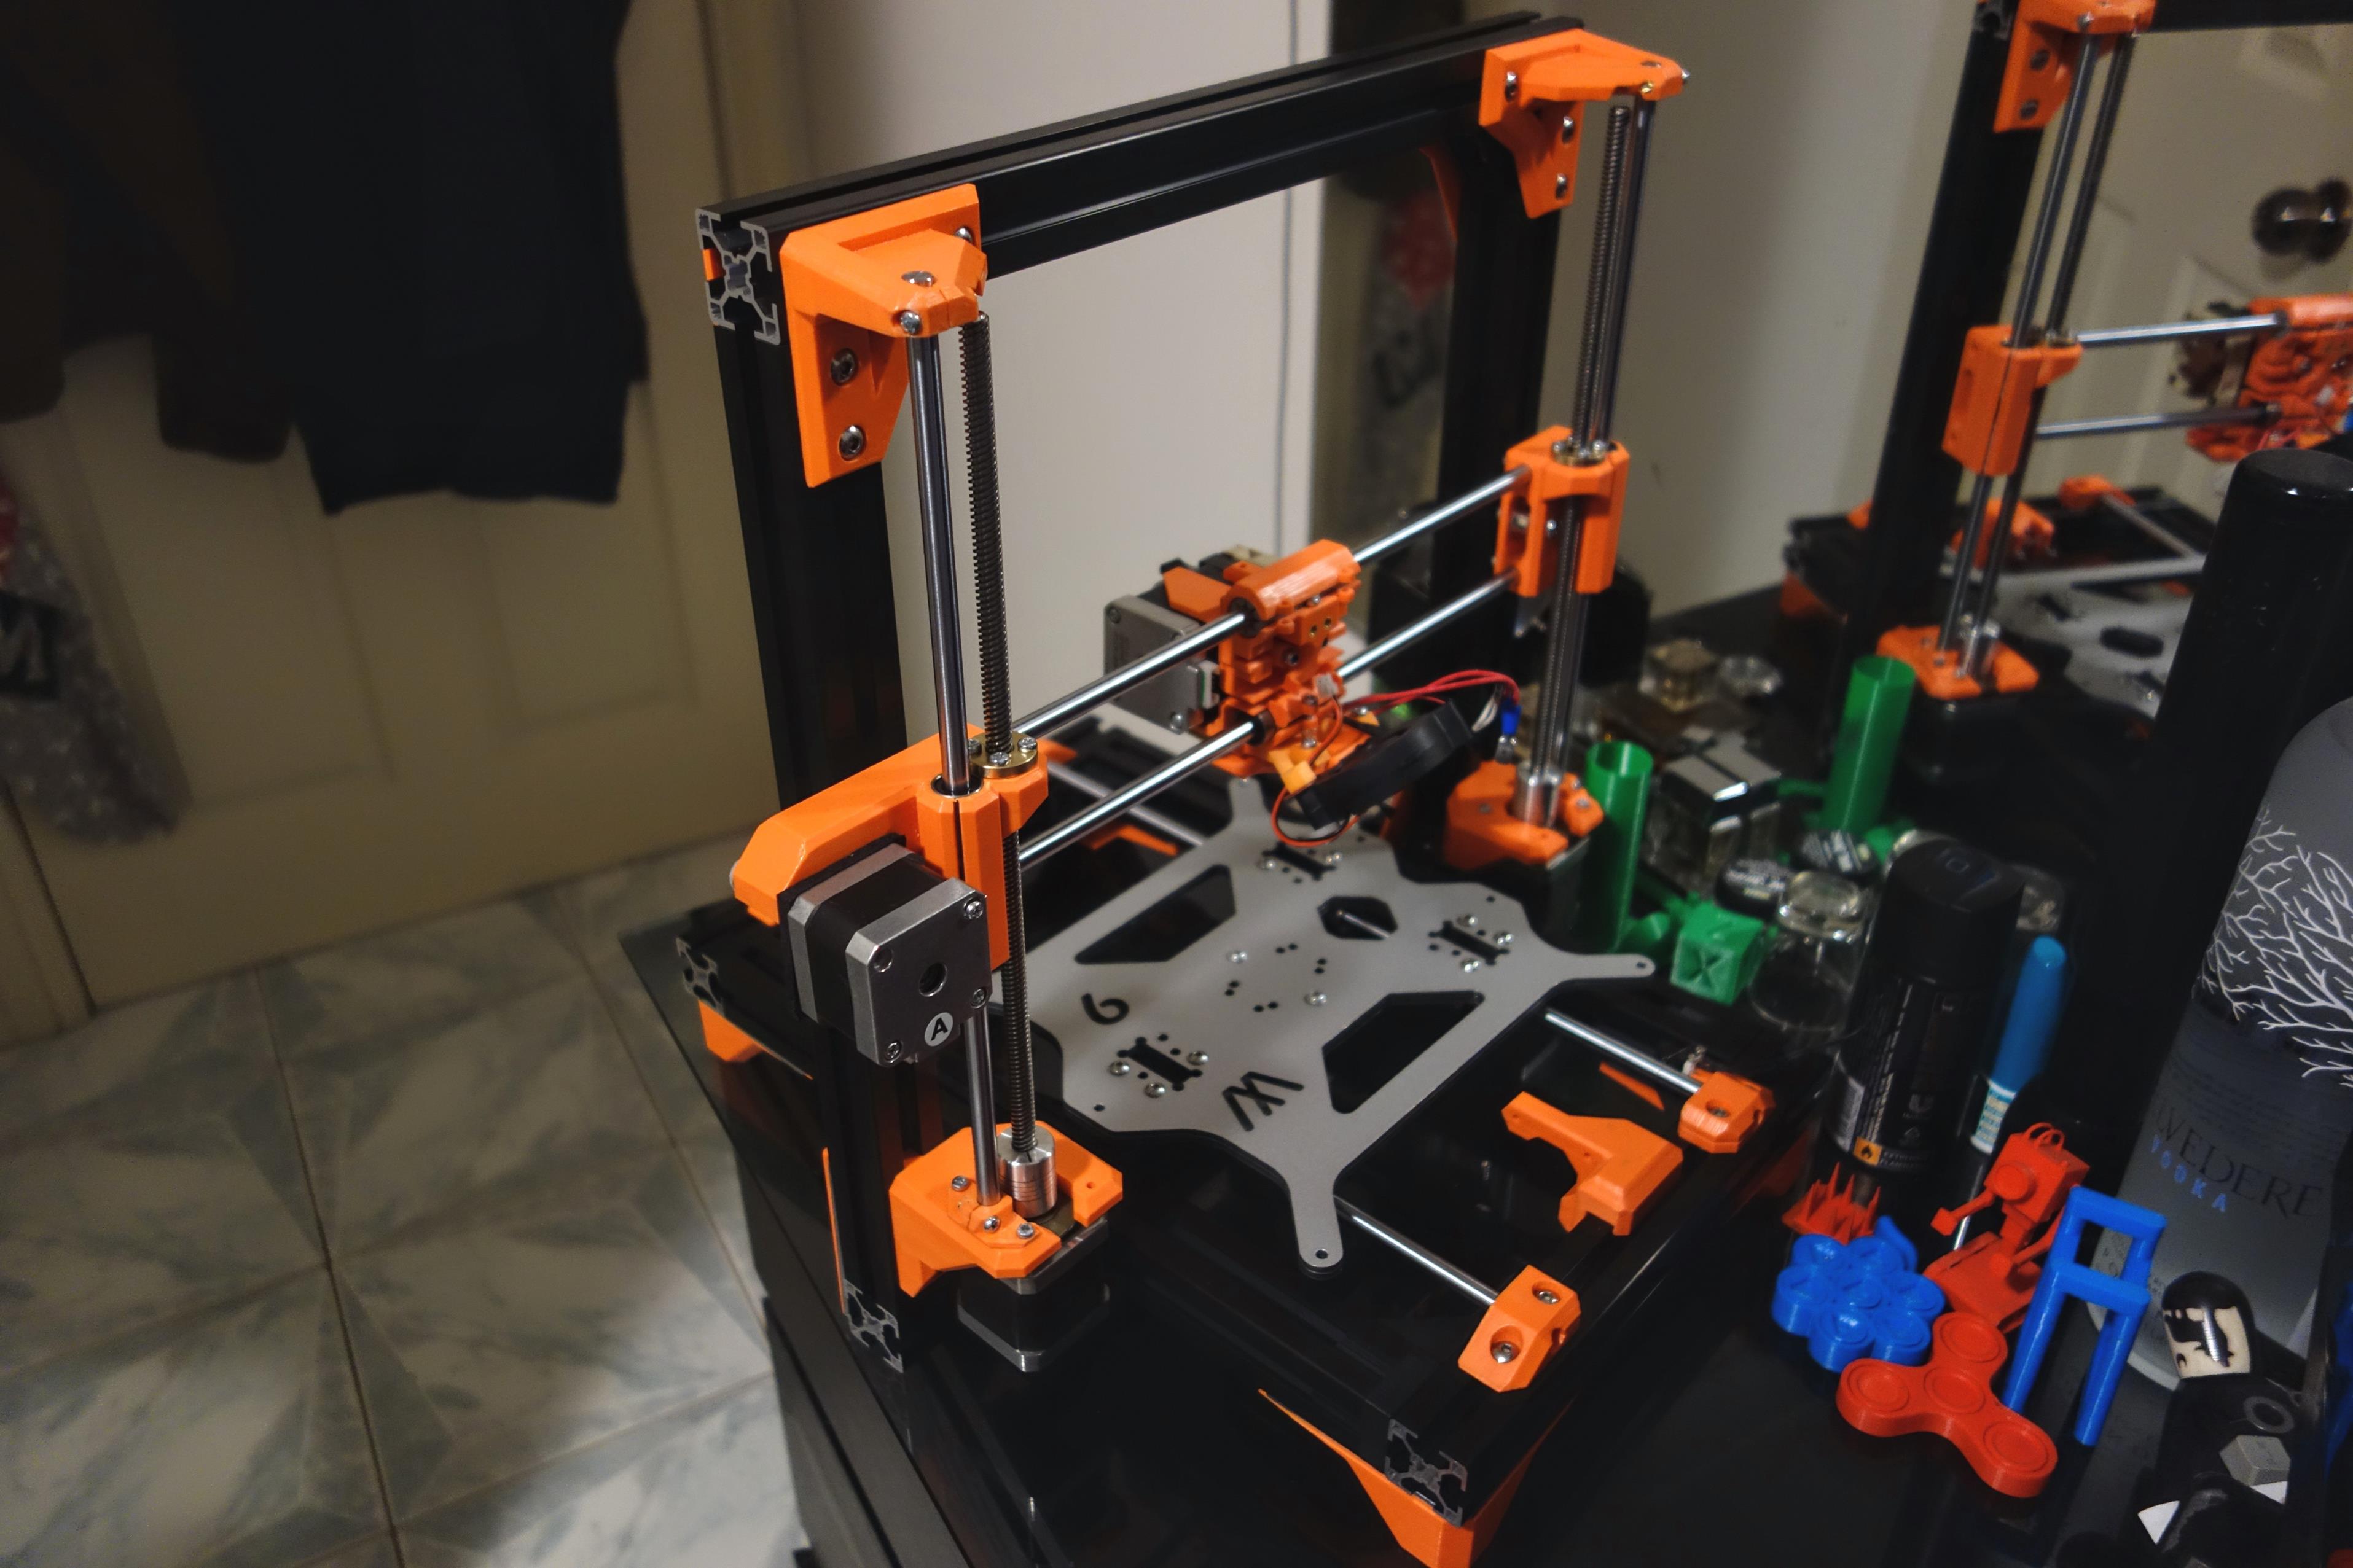
The Y-axis should now look like this.

Progress so far.
It is now time to reinstall the heatbed.